Mapping a vehicle for liveries
Prepare a non-mapped .yft so it can accept livery textures.
Syntax
Platform team
This guide is about preparing a vehicle that is not yet mapped for liveries. You take an unmapped .yft, run it through the Zoovdev livery mapper to set up UV charts and a livery slot, then put it back into the vehicle resource. After that the vehicle is ready for actual livery designs, which is a separate guide.
Requirements
- A non-escrowed vehicle .yft. The _hi variant is preferred because it carries the high-detail UVs.
- Codewalker. Download from gta5-mods.com/tools/codewalker-gtav-interactive-3d-map.
- An active Zoovdev account.
1. Export the .yft to .yft.xml with Codewalker
- Open Codewalker RPF Explorer.
- Browse to your vehicle resource (e.g. GTA V Mods\<your-vehicle>\stream) and locate the .yft file. Use the _hi.yft version when it exists.
- Right-click the file and choose Export XML. Save the resulting .yft.xml somewhere you can find it again.
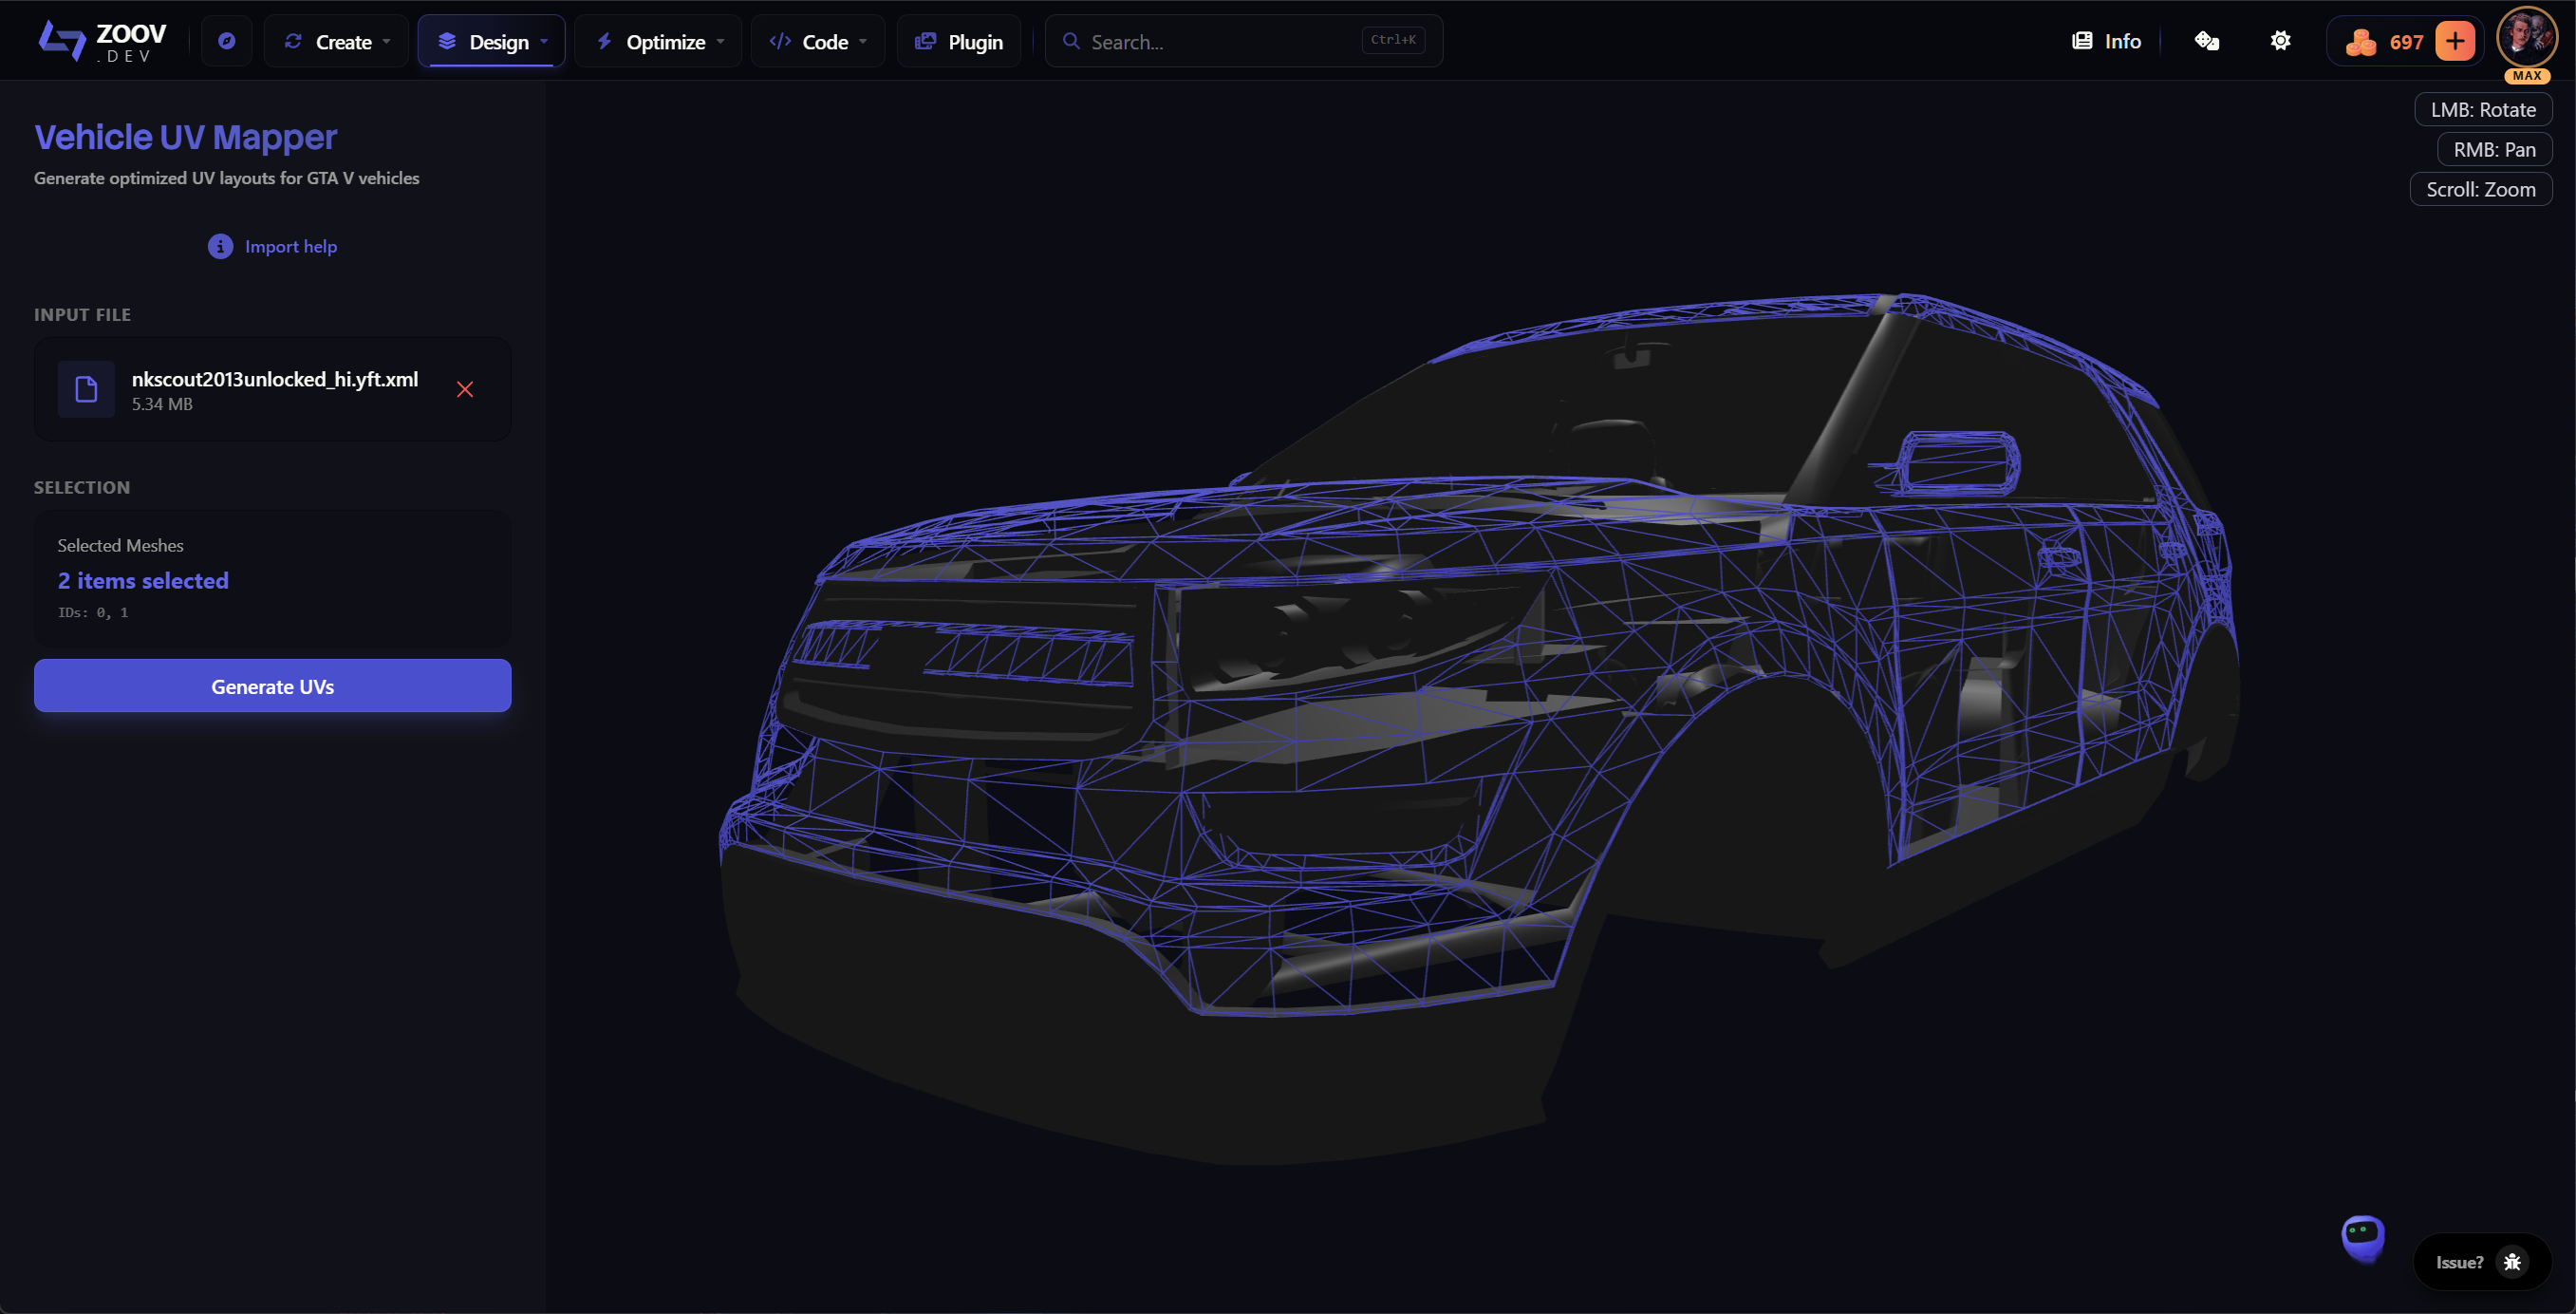
2. Map the vehicle in the Zoovdev livery mapper
Open tools/create/livery in your browser.
- Drop the .yft.xml into the upload zone.
- Pick the body part you want to receive the livery (the mesh you would paint on, e.g. the door or hood).
- Lay out the UV charts on the sheet. Move, rotate, and flip individual islands until the layout matches how you want the texture to map across the body.
- When the layout looks right, click Download XML.
- Also download the UV template sheet from the same dialog. You will paint your livery on top of this sheet.
- The downloaded XML is named modified_vehicle.yft.xml. Keep that name for now, you will rename it in the next step.
3. Repack the modified .yft.xml with Codewalker
- In Codewalker RPF Explorer, navigate back to the stream folder of your vehicle.
- Rename modified_vehicle.yft.xml to match the original file you exported from. For example, if you exported adder_hi.yft, the file should be adder_hi.yft.xml.
- Drag the renamed .yft.xml into the RPF. Codewalker will compile it back to a .yft and replace the original. Save the RPF.
4. Edit the vehicle meta files
Find the vehicle's meta files. They usually live in the resource's metas folder, sometimes the resource root. The one you need is carvariations.meta.
Locate your vehicle's <Item> block and add (or update) the livery configuration so each livery you plan to ship has its own slot. The exact XML the tool expects is shown on the export dialog at tools/create/livery under Car Variations:
<Item>
  ...
  <flags value="1" />
  <colors>
    <Item>
      <liveries>
        <Item value="true" />
        <Item value="false" />
        ...
      </liveries>
    </Item>
  </colors>
  ...
</Item>- Each <Item value="true" /> enables one livery slot. Add as many as you have liveries.
- Set flags value="1" on the variation so the game treats it as livery-capable.
5. Add the livery texture
The mapped mesh is now looking for a texture called zoovdev_sign_1 inside the vehicle's .ytd. For each additional livery, append a numeric suffix: zoovdev_sign_2, zoovdev_sign_3, and so on. The order in the .ytd should match the order of <liveries> entries in carvariations.meta.
- Open the vehicle's .ytd in Codewalker (or our Photoshop plugin).
- Import each livery PNG and rename it to zoovdev_sign_1, zoovdev_sign_2, etc.
- Save the .ytd back into the RPF.
Verify it in-game
- Start your server (or stream the resource).
- Spawn the vehicle and open Los Santos Customs (or use a livery selector).
- Confirm each slot you added shows your texture.
Next: design the actual livery
Now that the vehicle is mapped and accepts livery textures, the next step is designing the artwork itself. See Creating a livery for a mapped vehicle for the four ways to paint, name, and pack a livery so it shows up in-game.